Starting Seeds for your Indoor Garden
Starting Seeds - Indoor Garden

While the embryo waits, it uses its own special section of the seed for food. This is called the non-micropylar endosperm. A special area this food, called the micropylar endosperm, is left untouched all winter. When the time comes, this food will be used to fuel the initial growth of the tap root.

- Wash your hands with soap and water before starting seeds. To protect against germs
- your soil mix should be made of sterile mediums and mediums with populations of beneficial micro-organisms
1.) Germinate Seeds with Paper Towel Method
Before you can start transplanting, you need to germinate your seeds. I recommend the “paper towel” method for germination because this method is easy and hard to mess up!
- Place your seeds inside a folded wet paper towel, and place it between two paper plates (or regular plates) so that they don’t dry out.
- Check on your seeds every 12 hours but try not to disturb them. When they’ve germinated, you’ll see the seeds have cracked and there are little white roots coming out.
- They should germinate in 1-4 days, though some seeds can take a week or longer (especially older seeds).
- Keep them warm if possible. One thing you can do to get seeds to germinate a little faster is to keep them in a warm place (75-80°F). Some people use a seedling heat mat but in most cases that’s unnecessary.
Here’s a quick cheat sheet for the paper towel germination method!

Germination SEEDS from paper towel method!

Once your seeds have germinated, gently plant seeds in a solo cup about an inch deep, roots down.
Make sure to cut plenty of holes in the bottom of the solo cup first, so water can drain out the bottom easily!
Add your potting mix to the solo cup. Dig a small hole about 1-2″ deep and gently place your sprouted seed, root down, into the hole you made. Lightly fill around and cover with soil. You’ll see a seedling emerge a day or two later!

2.) Allow leaves to grow to edges of the solo cup
Your seedlings will take off in a day or two, and soon it’ll seem like they’re growing more and more each day!

Once your seedlings have grown enough that their leaves have reached the edges of the solo cup, it’s time to transplant to a bigger container!
These seedlings are begging to be transplanted to bigger pots (especially that big one on the bottom!)
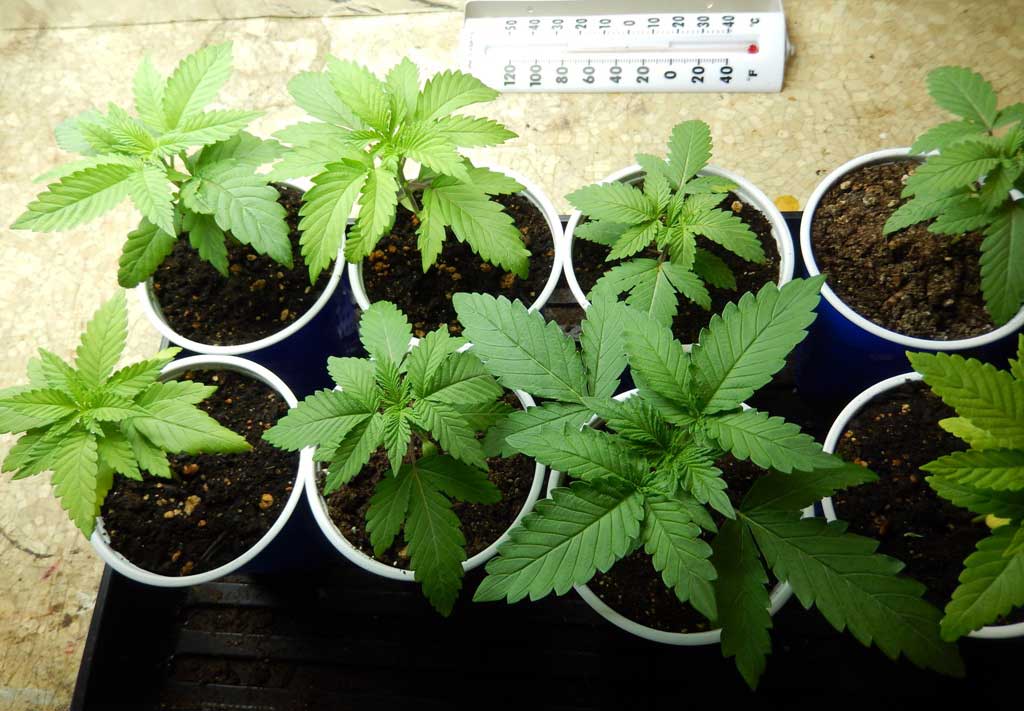
Transferring to a bigger container at this stage will prevent your seedling roots from becoming root bound and “choking” themselves because they get all wrapped around the outside of the soil. The outside circling of the roots prevents the plant from using water and nutrients properly, so you often end up with droopy seedlings and hard-to-explain nutrient deficiencies.
3.) Transplant seedlings to a 1, 2 or 3-gallon pot (then to an even bigger final container if you desire)
Instead of pulling the whole plant out of the container, sometimes you can just cut away the solo cup when you plan on transplanting. This is one of the advantages of starting in disposable cups – it makes transplanting easy and stress-free. You can also gently run a butter knife around the outside to help loosen the soil, turn it upside down and pat out the seedling, soil and all!
Transfer
seedling into a new container by digging a hole the size of a solo cup,
and gently placing your seedling in the new hole without disturbing the
roots at all if possible, like this!
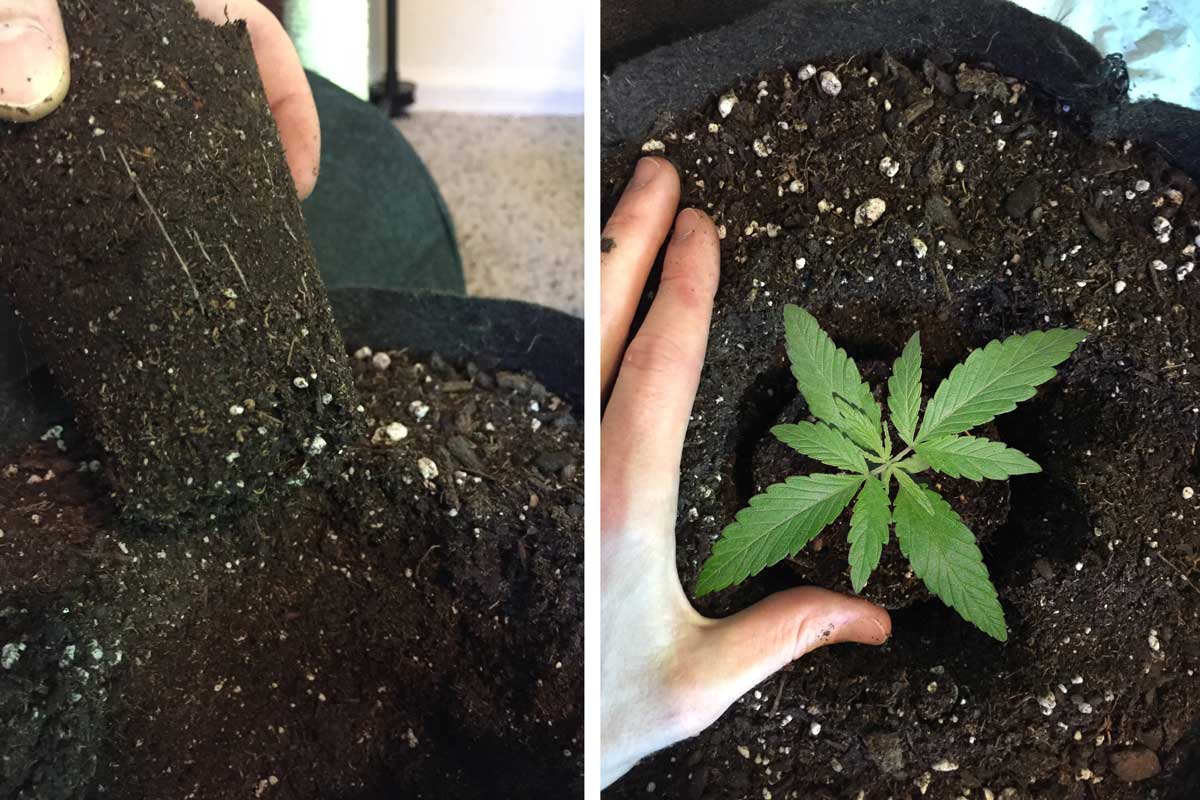
Power of Water Never pack the soil around your plant - us water to seal the soil around the plant
The first week is most critical. Your seedlings should be kept at 72-75 degrees. If your air is dry you should keep the seedlings under a humidity dome. After that, a gentle breeze from an oscillating fan will help encourage stronger branch and stem growth.
These Documents contain information gathered from many Online
Communities and all possible references have been given to the authors
of each individual article.


Comments
Post a Comment